
Nailart: Head in the clouds
- Posted on
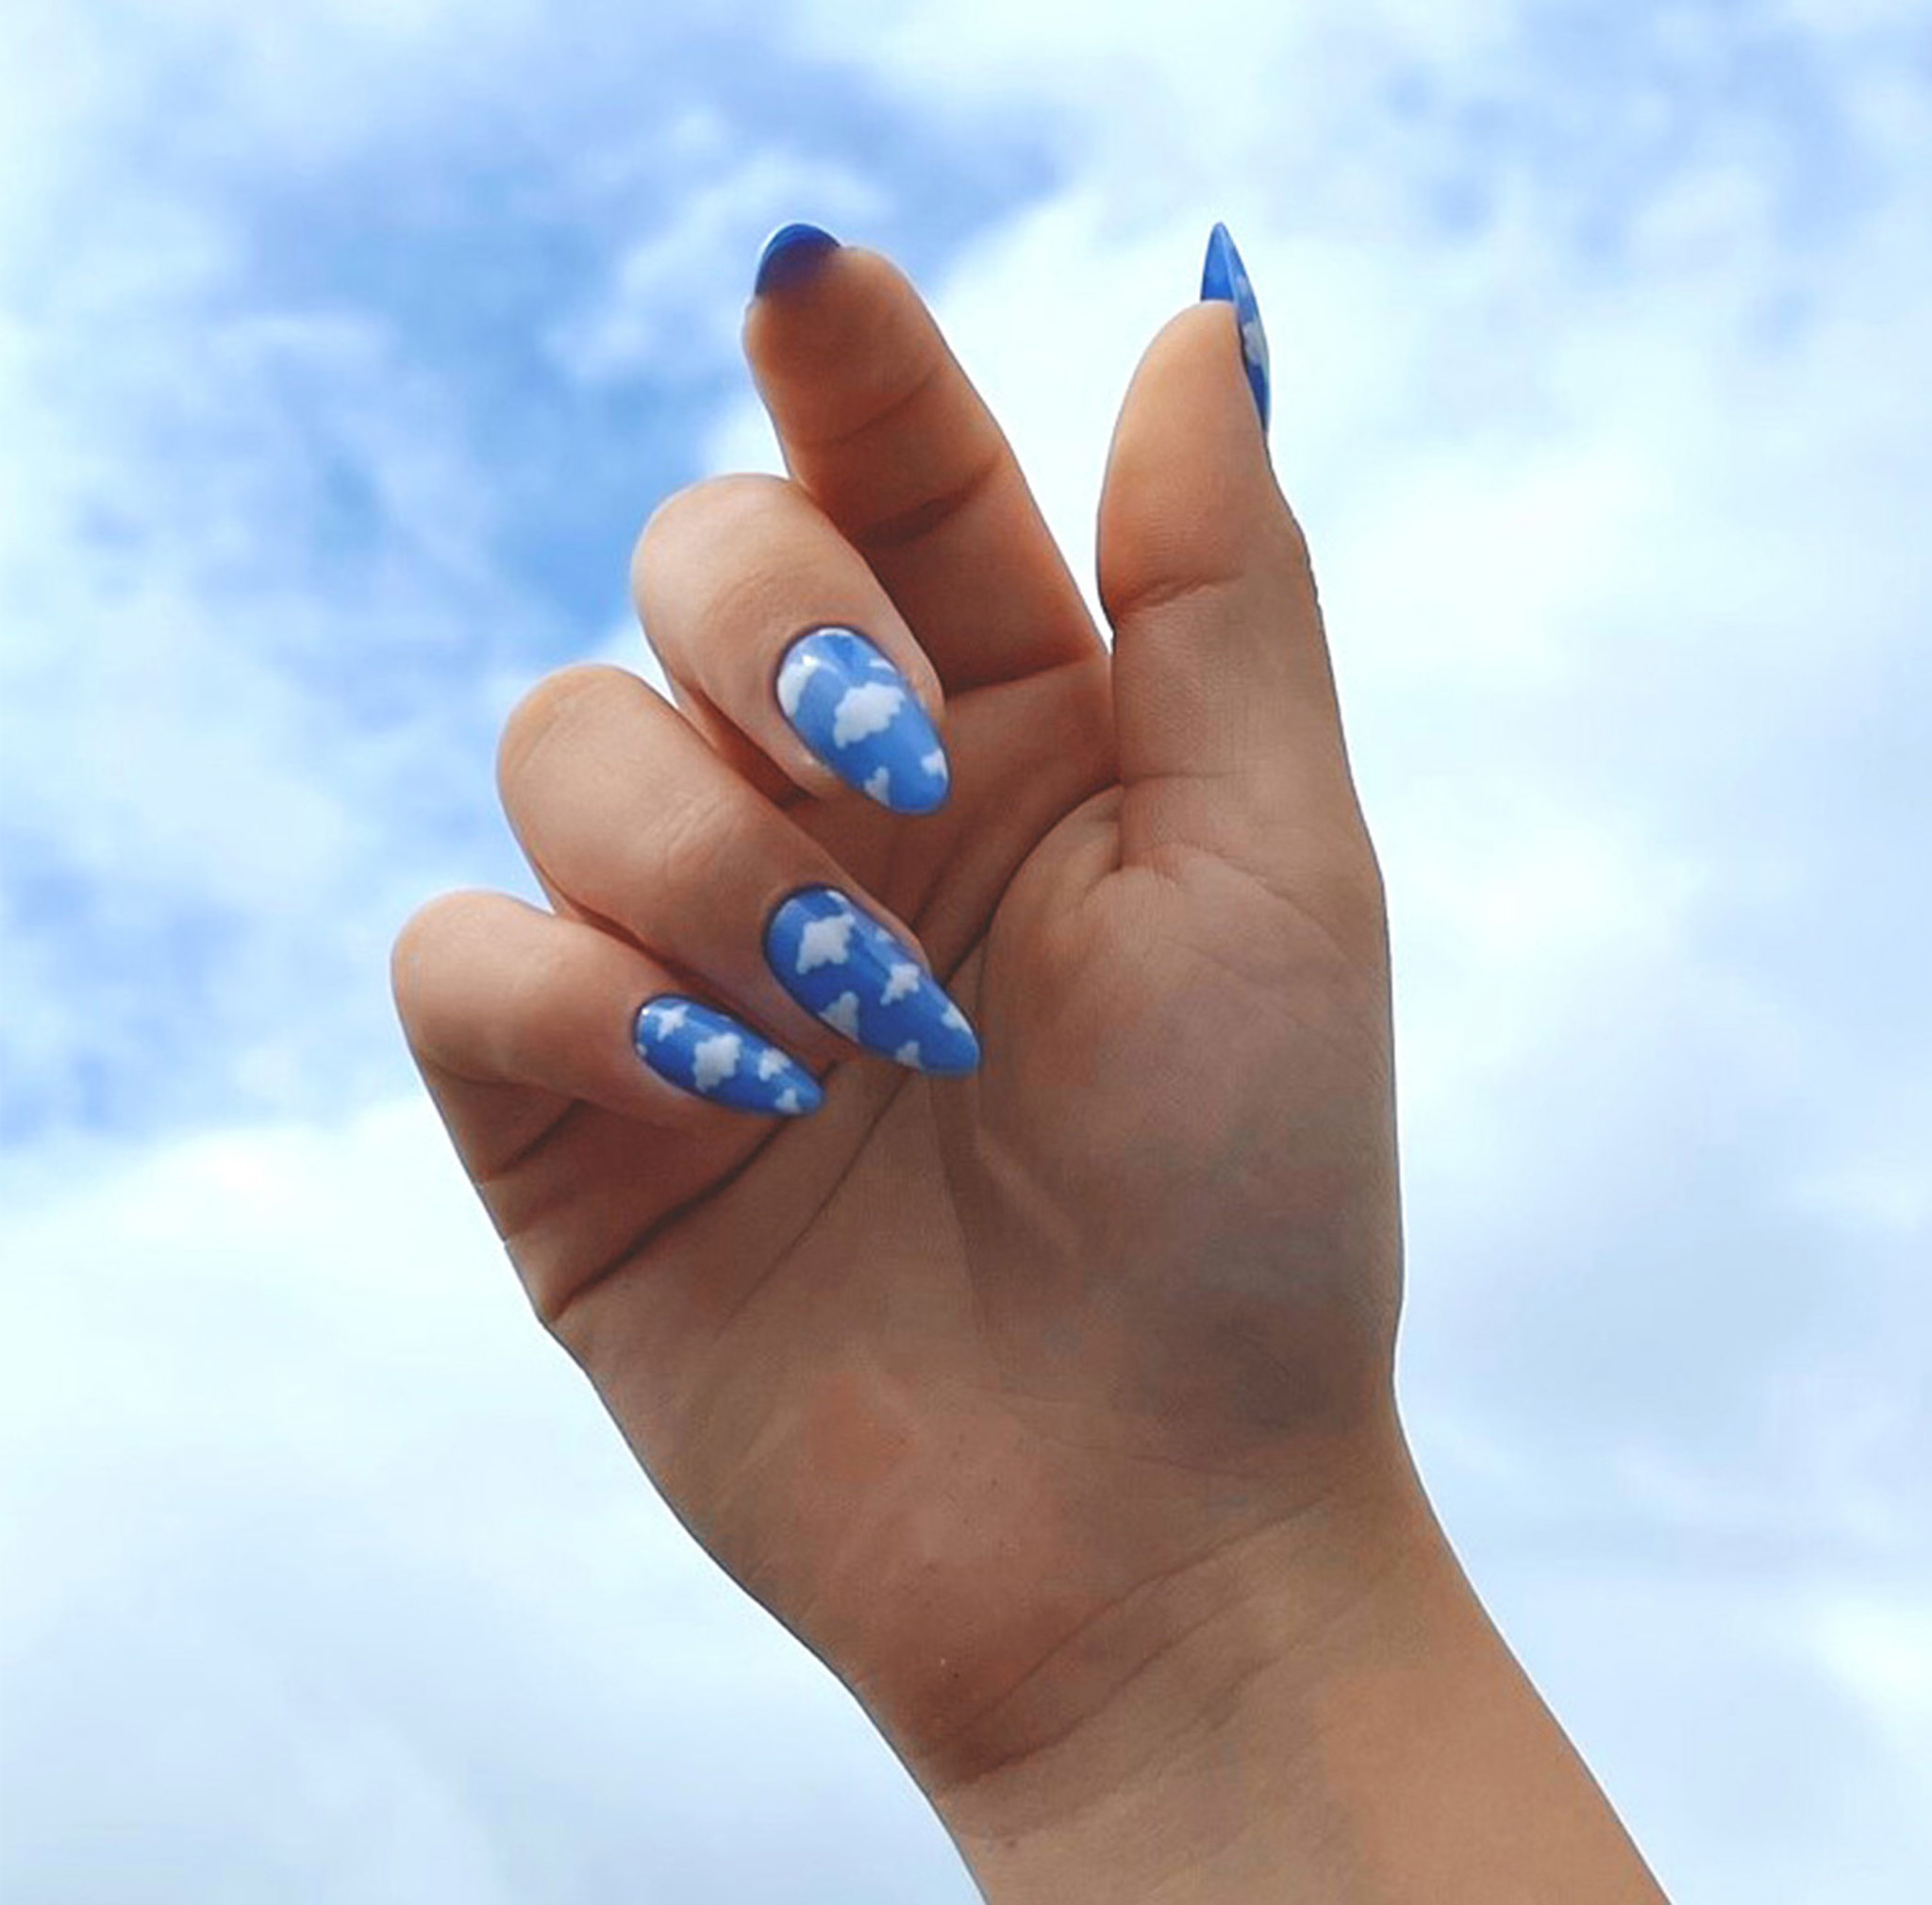
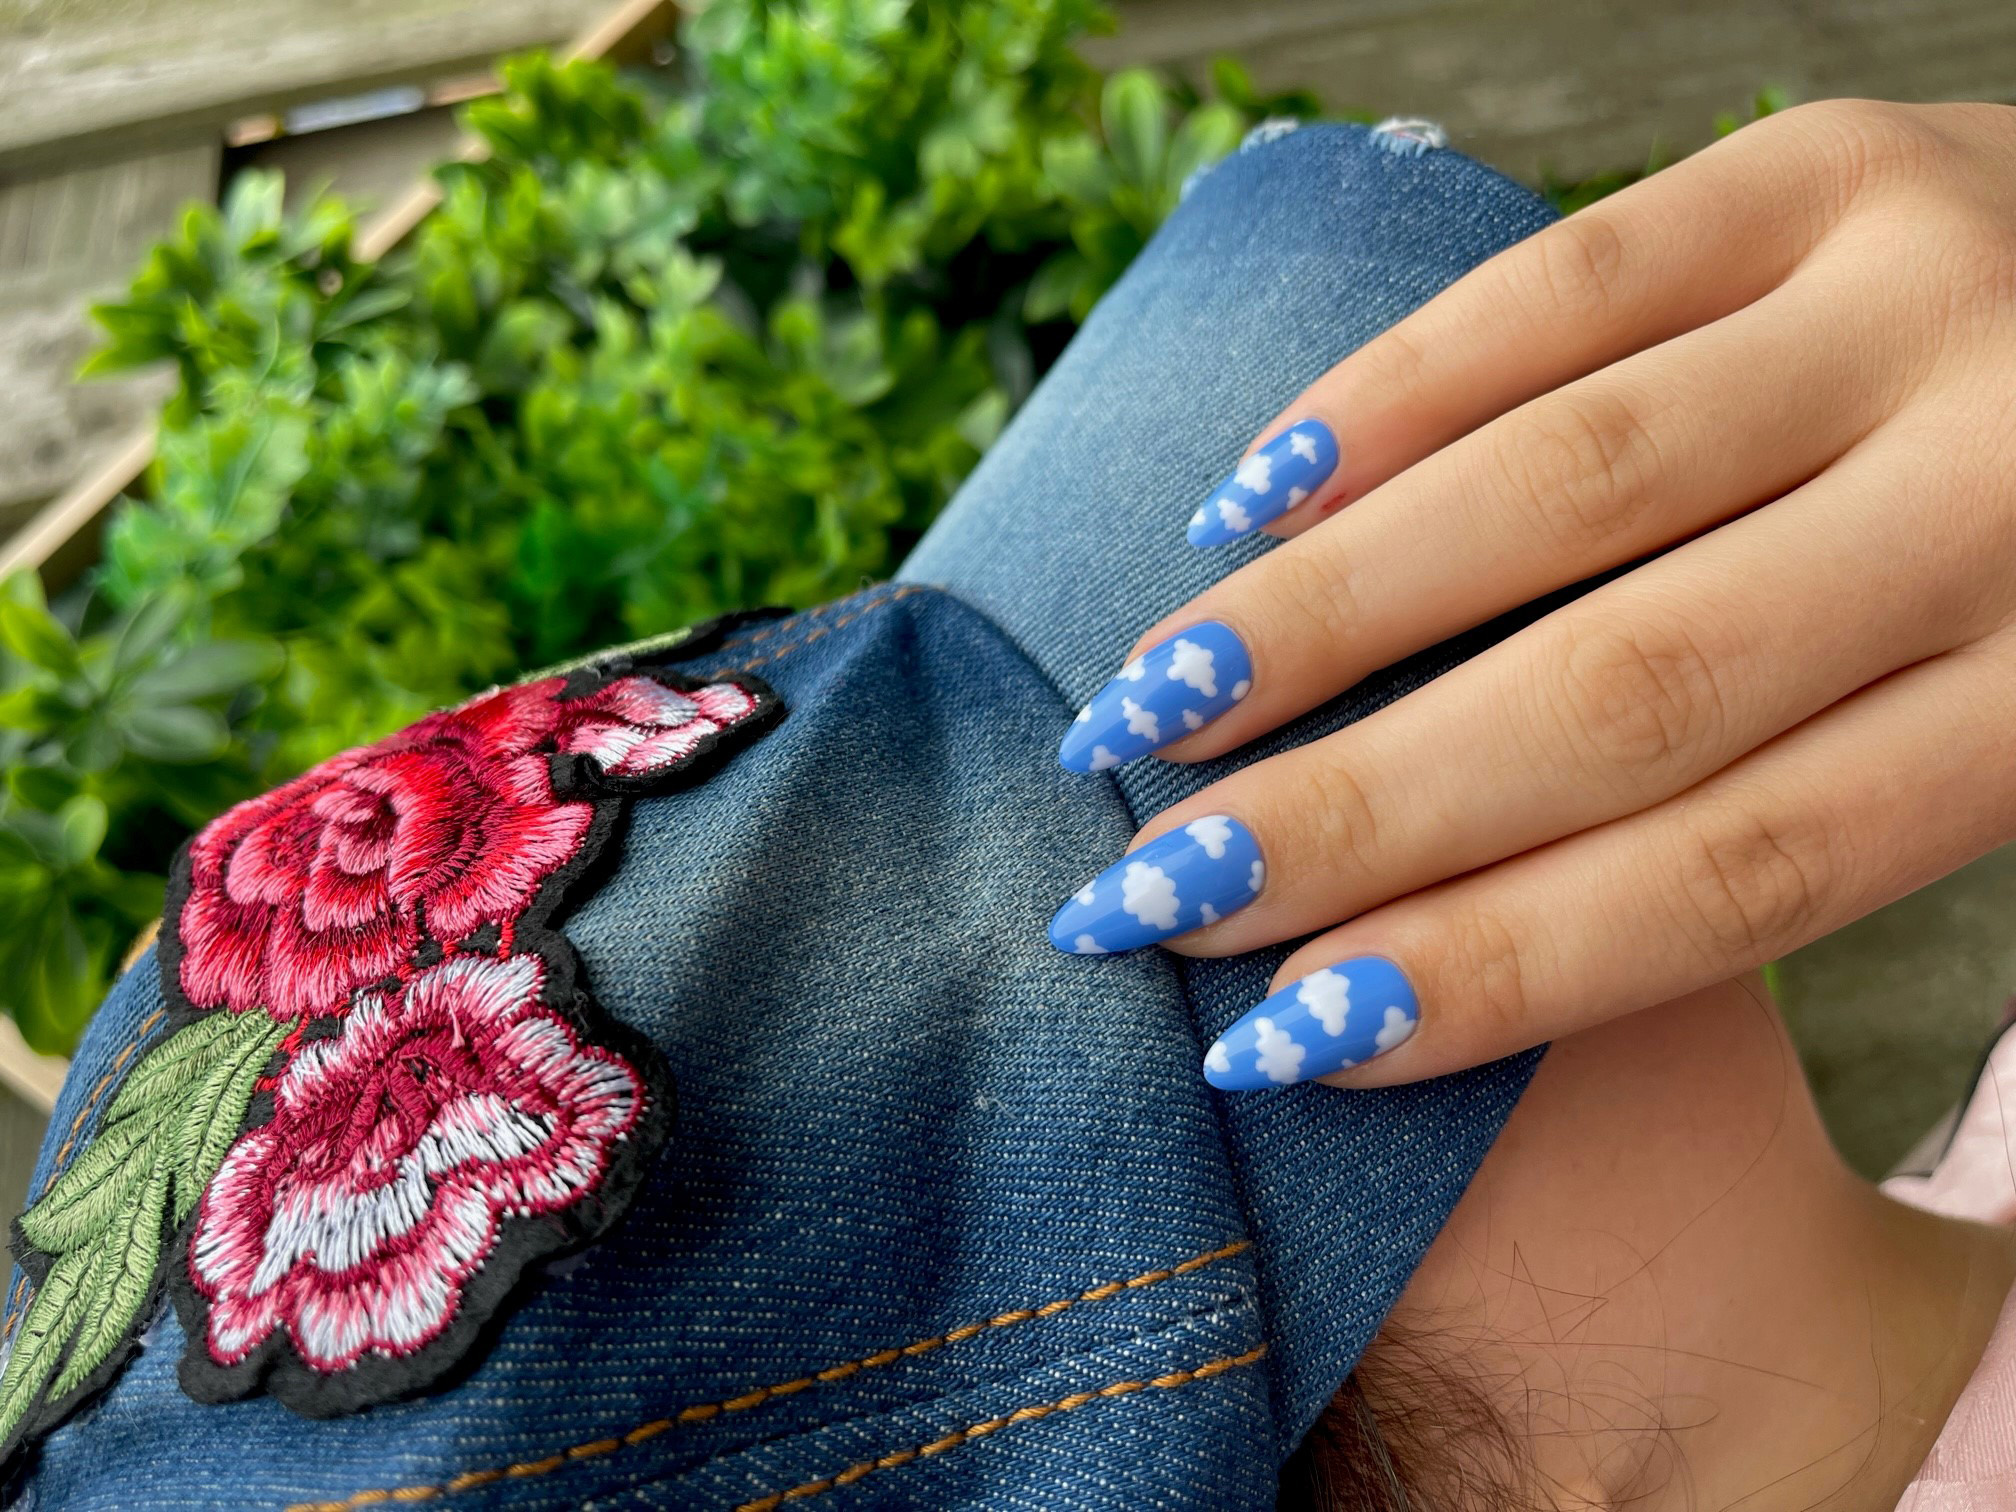
Find out how to create little clouds on the nail in just 5 steps.
Before you begin the nail art, make sure the nails are fingered into the desired shape. Use the Hola Base Gel as a base for painting the nails.
1. Give the nails a beautiful blue color with the Hola Crystal Clear Gel Polish. This clear blue color well represents the sky that we will later create the clouds on. Let the gel polish harden well under the Hola Chica Lamp.

2. Use the Pure White Gel Polish to make the clouds. Put some of the white gel polish on a piece of paper so that you can later use the dotting tool to remove the gel polish from this.
3. Use the Hola Dotting Tool to make circles on the nail. Dip the Dotting Tool into the white gel polish.

4. Next, gently press the tip of the Hola Dotting Tool onto the nail and place the dots close together, creating a shape of a cloud (do this on each nail or nail as desired). Remember to let the nails harden well in the Hola Chica Lamp.


5. The last step and not least. Apply the Hola Top Coat to the nails and then let it harden again. This will keep the nail art in place and protected. Did you know that we also have a Matte Top Coat? This Top Coat gives an extra effect to the nail art.
Are you going to try this nail art? And are you curious to see how it looks on your own nails or on someone else's? Show us! Post a picture of this nail art on social media and use the hashtags #Holacosmetics and #Holanailart.
We are very curious!
Love,
Hola Nail Cosmetics Team